Setting up an account in Dryad is an important first step to take when preparing to share and preserve your research data. You will need an active ORCID account to complete the process, but no need to worry, we have separate instructions for researchers with and without existing ORCID ID's.
How to create a Dryad account
Setting up a Dryad account with an existing ORCID ID
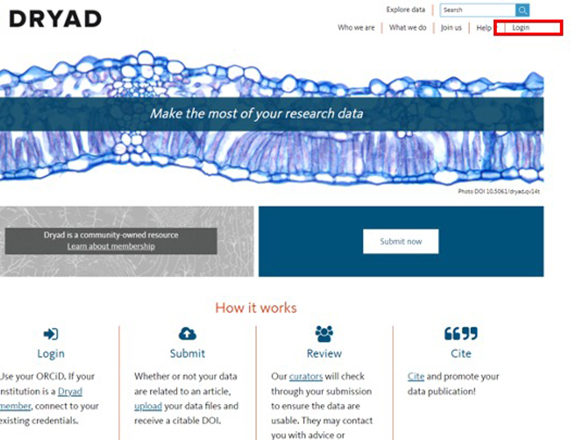
Step 1
Navigate to the Dryad site and click on the “Login” button.
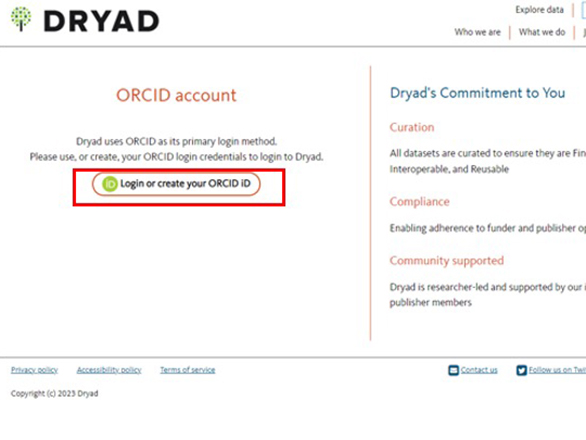
Step 2
Click on “Login or Create an ORCID iD“ button.
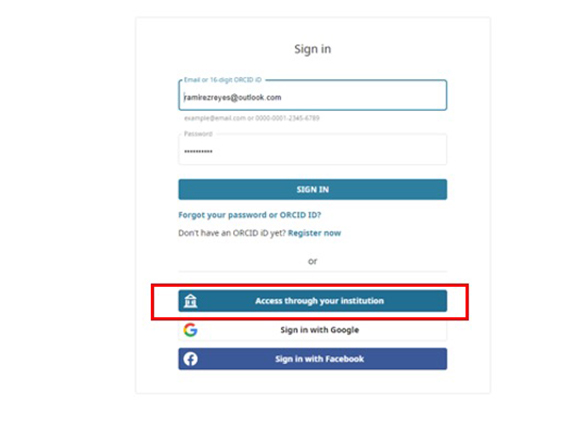
Step 3
In the dialog box that appears, select “Access trough your institution.”
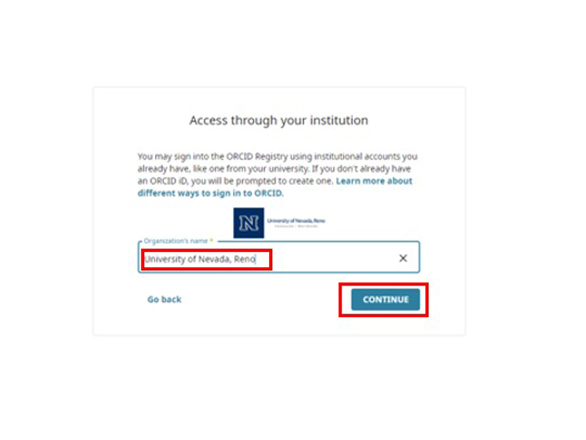
Step 4
Start typing “University of Nevada, Reno” in the text box and select it from the list. Click Continue.
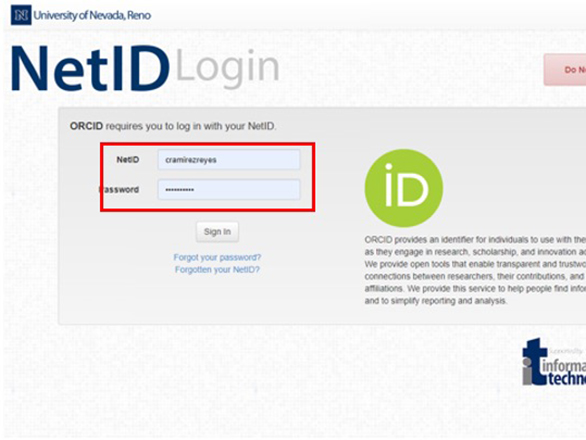
Step 5
You will be taken to the University of Nevada, Reno NetID login page where you can enter your University credentials.
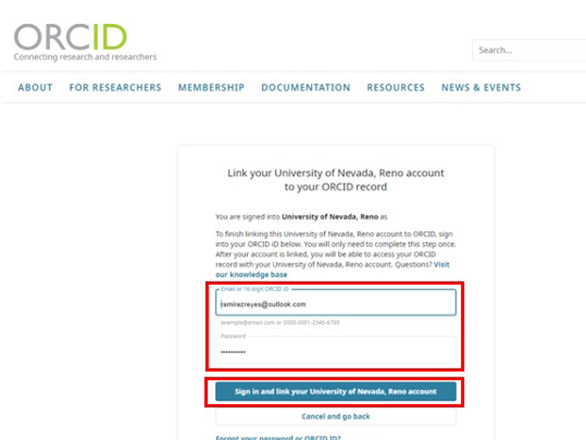
Step 6
After successfully entering your credentials, you will be asked to provide your previously created ORCID credentials. Click on “Sign in and link your University of Nevada, Reno account”
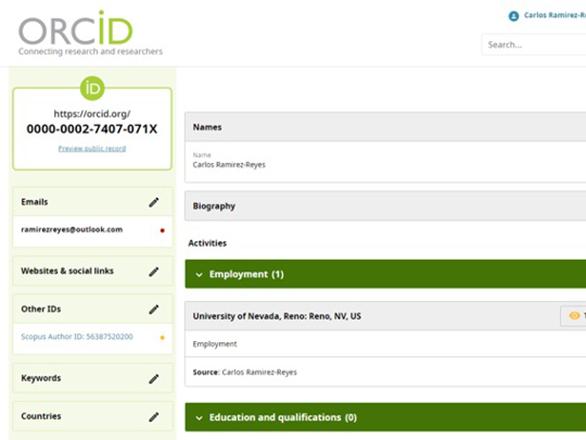
Step 7
If your credentials are accepted, then you’ll be directed to your ORCID account. You will not automatically be redirected to Dryad. You should manually go back to Dryad in your browser.
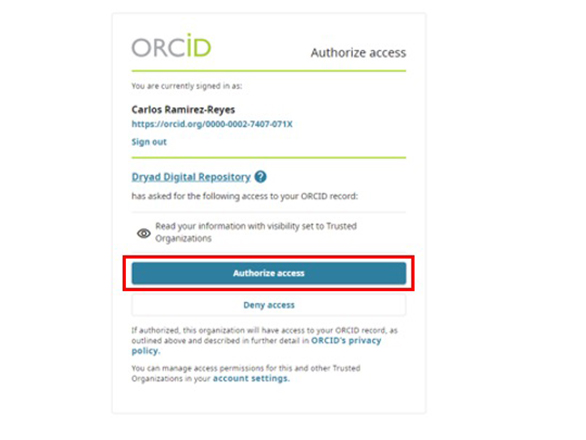
Step 8
Once you’re back on a Dryad website, there should be a window asking if you want to give Dryad access to your ORCID details. Click on “Authorize access”.
Step 9
There will be a confirmation window in Dryad showing that your ORCID login was successful. Now you can start using Dryad. You can test it by logging in with your ORCID credentials and a University of Nevada, Reno logo will appear in the top left, next to the Dryad logo, indicating that your account is linked trough the University.
Setting up a Dryad account without an existing ORCID ID
Step 1
Navigate to the Dryad site and click on the “Login” button.
Step 2
Click on the “Login or create your ORCID ID button”.
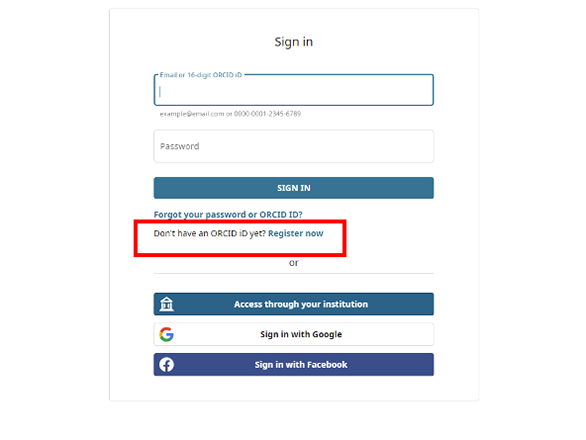
Step 3
Click on “Don’t have an ORCID iD yet? Register now”
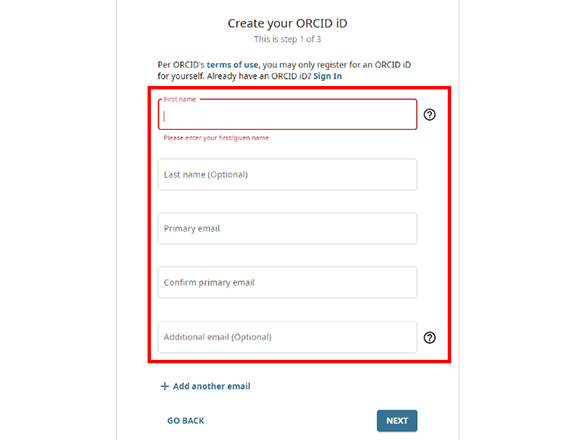
Step 4
Enter your name, last name, UNR email and a recommended personal mail in case you loose affiliation to UNR in the future. Click on “Next”.
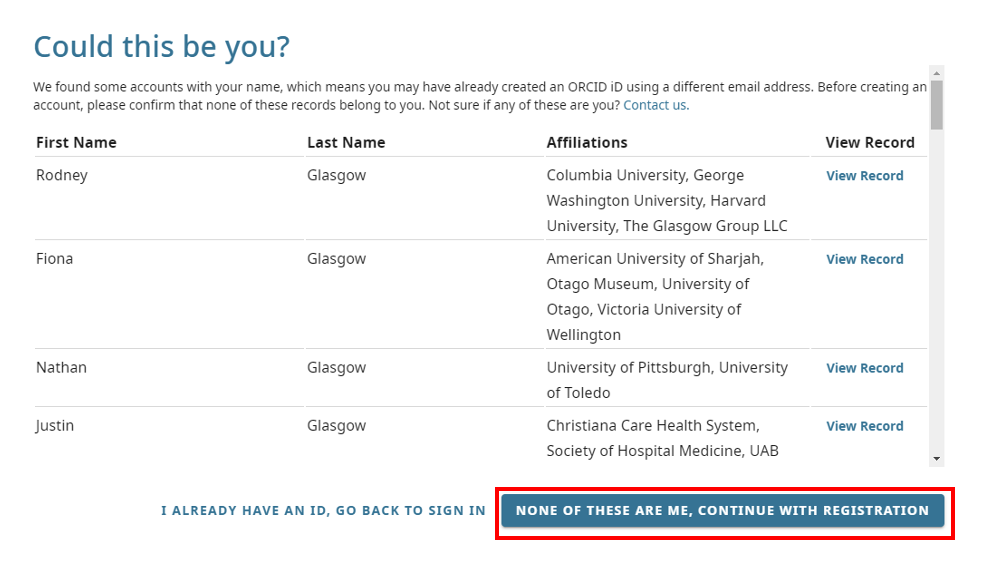
Step 5
Double check that you do not have already an ORCID account. If you do, then you can use the other manual for users with an ORCID account. If this is your first time using ORCID, then click on the “None of these are me, continue with registration” button.
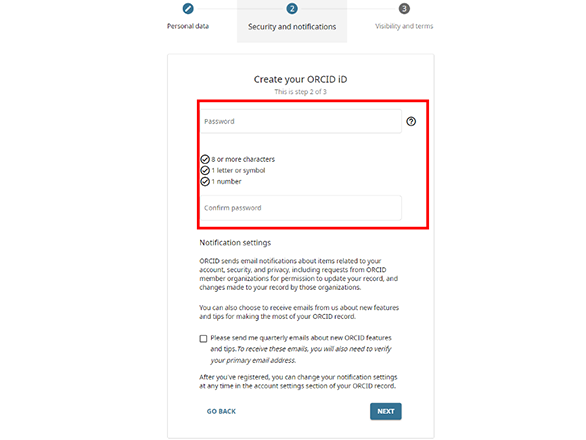
Step 6
Create a ORCID password, make sure you remember it as it will be used to access Dryad too. Click on “Next” button.
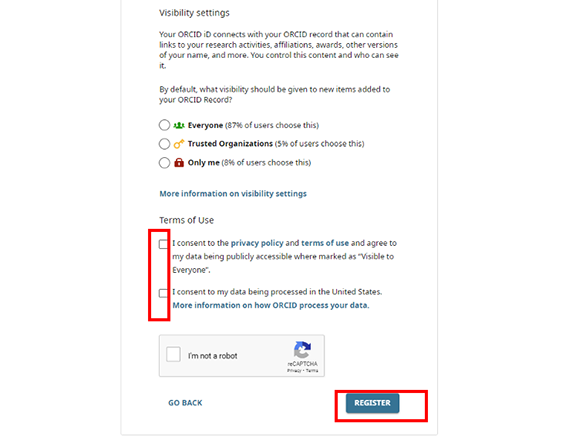
Step 7
Select the visibility you prefer for your ORCID account. Accept the Terms of Use, and click on “Register”.
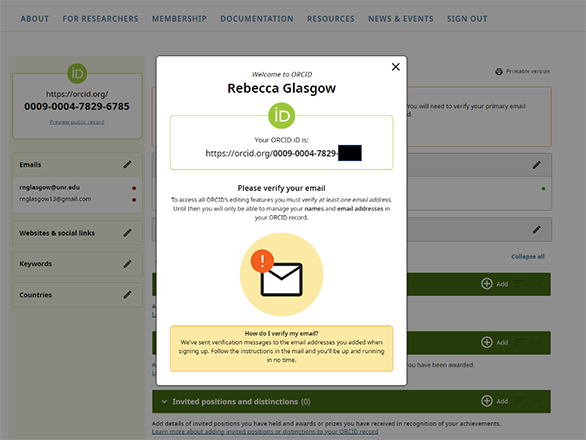
Step 8
You’ll receive a request to confirm your email. Go to your email inbox and confirm the email sent to you.
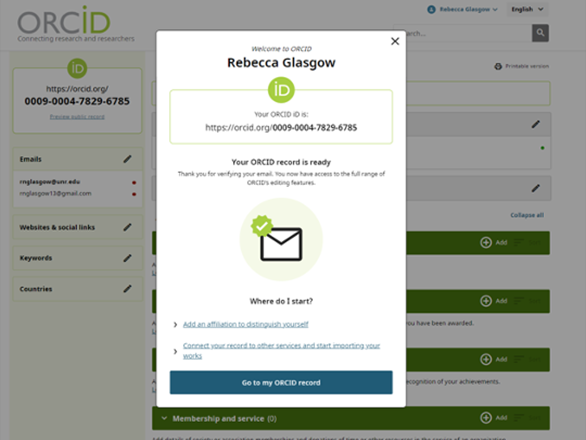
Step 9
You should now receive an ORCID record confirmation window. You can go to your account and complete your profile later if you choose to. But now we’ll go back to Dryad.
Step 10
Navigate to the Dryad site and click on the “Login” button.
Step 11
Click on the “Login or create your ORCID ID button”.
Step 12
Since you were already signed into your just created ORCID account, you will be given the option to “Authorize access to Dryad Repository”. Click on it to proceed with the authorization.
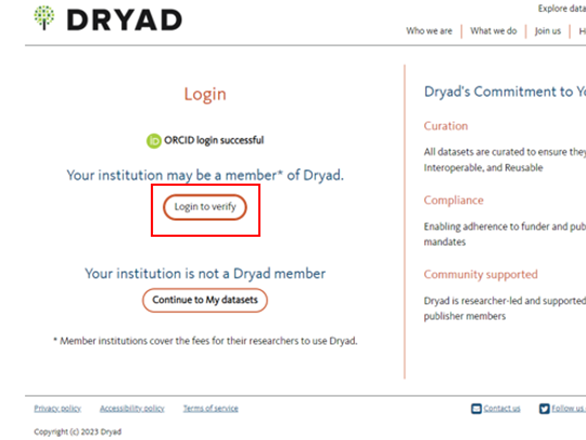
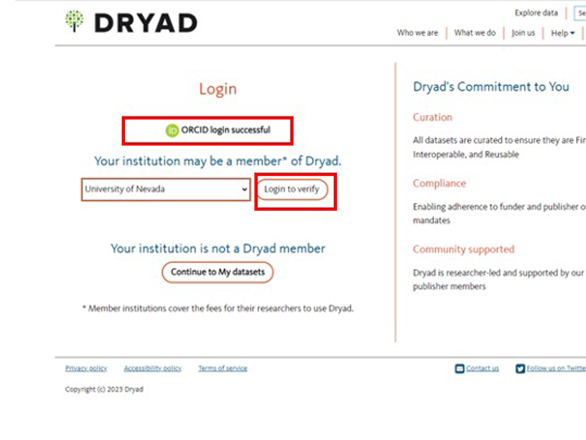
Step 13
You will receive a successful ORCID login message. In the same page there will be a message “Your institution might be a member of Dryad”. Click “Login to verify”.
Important: Some users have reported that they can’t continue after this step. If that’s the case for you, open an Incognito window in your internet browser and continue from step 1 with the instructions here for people with ORCID accounts.
Step 14
Start typing “University of Nevada, Reno” in the text box and select it from the list.
Step 15
You will be taken to the University of Nevada, Reno NetID login page where you will enter your University credentials.
Step 16
After successfully entering your credentials, you might be asked to provide your previously created ORCID credentials. Click on “Sign in and link your University of Nevada, Reno account”.
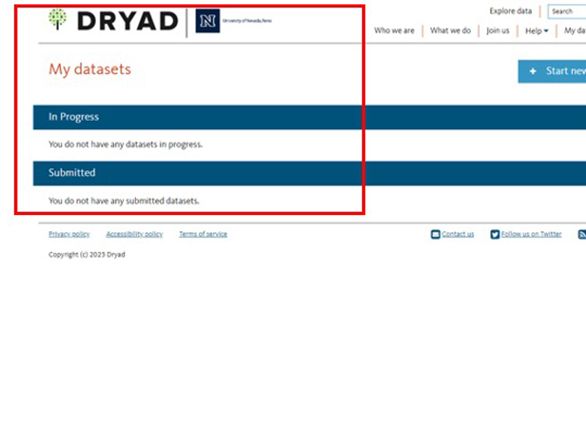
Step 17
You will be taken to your Dryad board, which should show the University's Block N logo in the top left, next to the Dryad logo, indicating that your account is linked through the University. If you don’t see the logos, you can refresh the page to confirm.